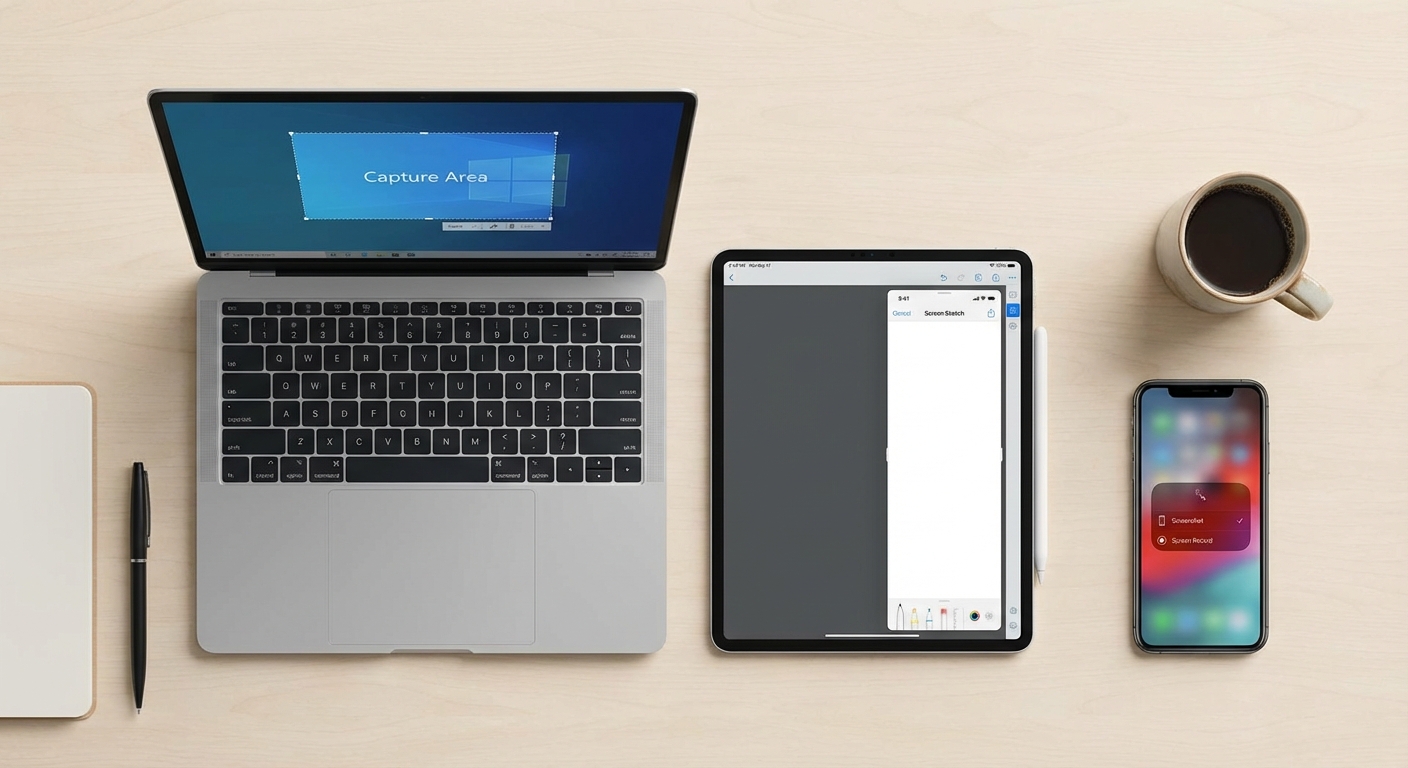
To take a screenshot on most devices, use these shortcuts: Windows (Print Screen or Win+Shift+S), Mac (Cmd+Shift+3 or Cmd+Shift+4), iPhone (Side button + Volume Up), Android (Power + Volume Down). Your screenshot saves automatically to your photos or a screenshots folder.
That’s the quick answer. But there are multiple screenshot methods on each platform, and knowing the right one for your situation saves time and frustration. Here’s the complete breakdown for every major device.
Windows Screenshots
Windows offers several screenshot methods, each useful for different situations.
Print Screen (PrtScn): Press the Print Screen key on your keyboard to capture your entire screen. The image copies to your clipboard, so you’ll need to paste it (Ctrl+V) into an application like Paint, Word, or an email to use it. On some keyboards, you may need to press Fn+Print Screen.
Windows+Print Screen: Press these keys together to capture your entire screen and automatically save it as a file. Screenshots go to your Pictures folder in a subfolder called “Screenshots.” This is the fastest method if you want a saved file without extra steps.
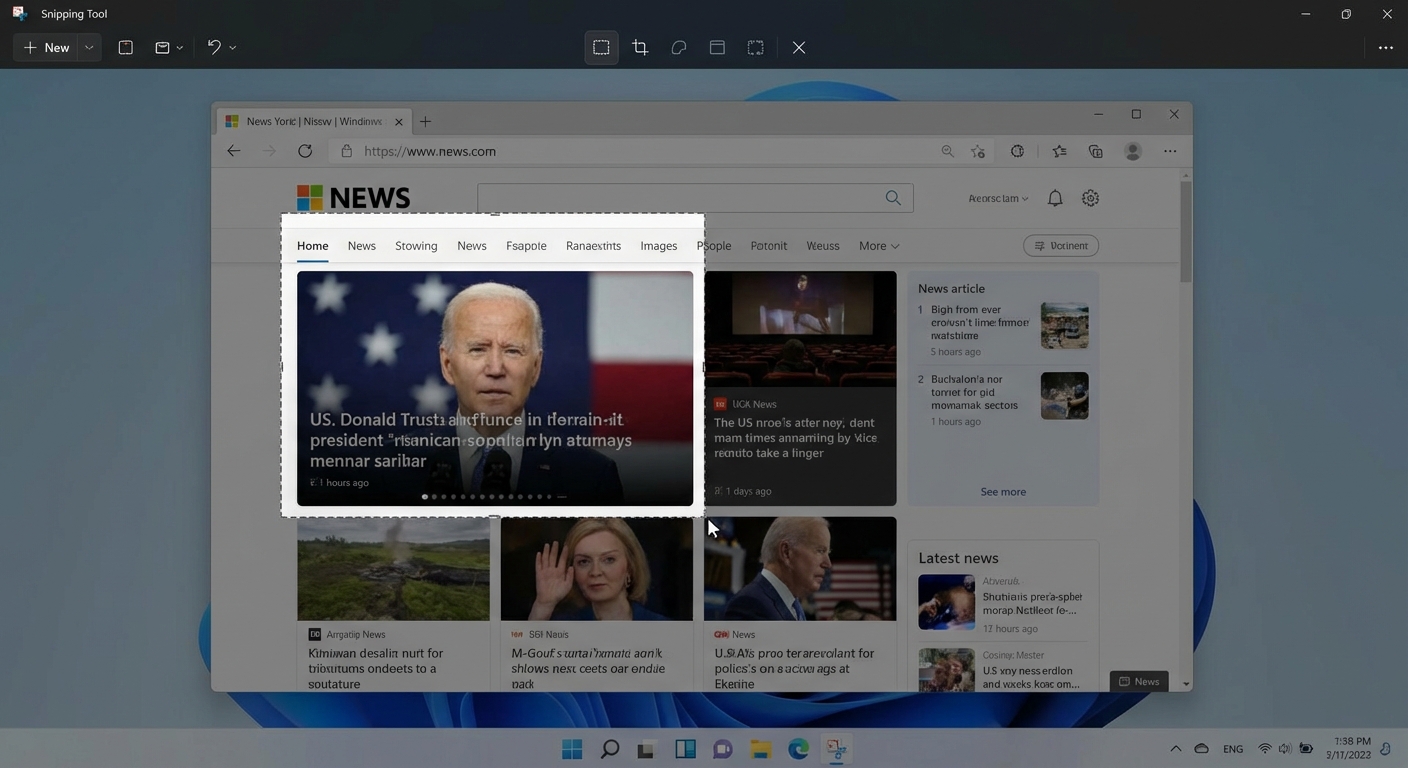
Windows+Shift+S: This opens the Snip & Sketch tool (called Snipping Tool in Windows 11), which lets you select exactly what portion of the screen to capture. You can draw a rectangle, capture a specific window, or select a freeform shape. The screenshot copies to your clipboard and a notification appears letting you annotate or save it.
Alt+Print Screen: Captures only the currently active window, not the entire screen. Useful when you have multiple windows open but only want to capture one. The image copies to your clipboard.
Snipping Tool app: You can also search for “Snipping Tool” in the Start menu and launch it directly. This gives you access to timed screenshots (useful for capturing menus that disappear when you click elsewhere) and additional annotation tools.
Mac Screenshots
Mac has powerful screenshot capabilities built into the operating system.
Cmd+Shift+3: Captures your entire screen and saves it as a file on your desktop. The file is named with the date and time.
Cmd+Shift+4: Turns your cursor into a crosshair, letting you select exactly which portion of the screen to capture. Click and drag to select an area. The screenshot saves to your desktop.
Cmd+Shift+4, then Spacebar: After pressing Cmd+Shift+4, hit the spacebar to switch to window capture mode. Your cursor becomes a camera icon, and clicking any window captures just that window with a nice shadow effect around it.
Cmd+Shift+5: Opens the full screenshot toolbar, which gives you access to all screenshot options plus screen recording. You can capture the entire screen, a selected window, or a selected portion. You can also choose where to save screenshots and set a timer.
By default, Mac screenshots save to your desktop. If you want to change this location, use Cmd+Shift+5 to open the toolbar, click “Options,” and select a different save location.
Cmd+Shift+6: On MacBooks with a Touch Bar, this captures the Touch Bar display.
iPhone Screenshots
iPhone with Face ID (iPhone X and later): Press the Side button and Volume Up button simultaneously. The screen will flash white and you’ll hear a shutter sound (if your phone isn’t muted). A thumbnail appears in the corner, which you can tap to edit or swipe away to dismiss.
iPhone with Home button (iPhone 8 and earlier, iPhone SE): Press the Side button (or Top button on older models) and the Home button simultaneously.
Screenshots save to your Photos app in the Screenshots album. The thumbnail that appears after taking a screenshot lets you crop, annotate, or share immediately without opening Photos.
Full page screenshots in Safari: When viewing a webpage in Safari, take a screenshot normally, then tap the thumbnail and select “Full Page” at the top of the editing screen. This captures the entire webpage, not just what’s visible on screen. The result saves as a PDF.
Android Screenshots
Android screenshot methods vary slightly by manufacturer, but most devices use the same basic approach.
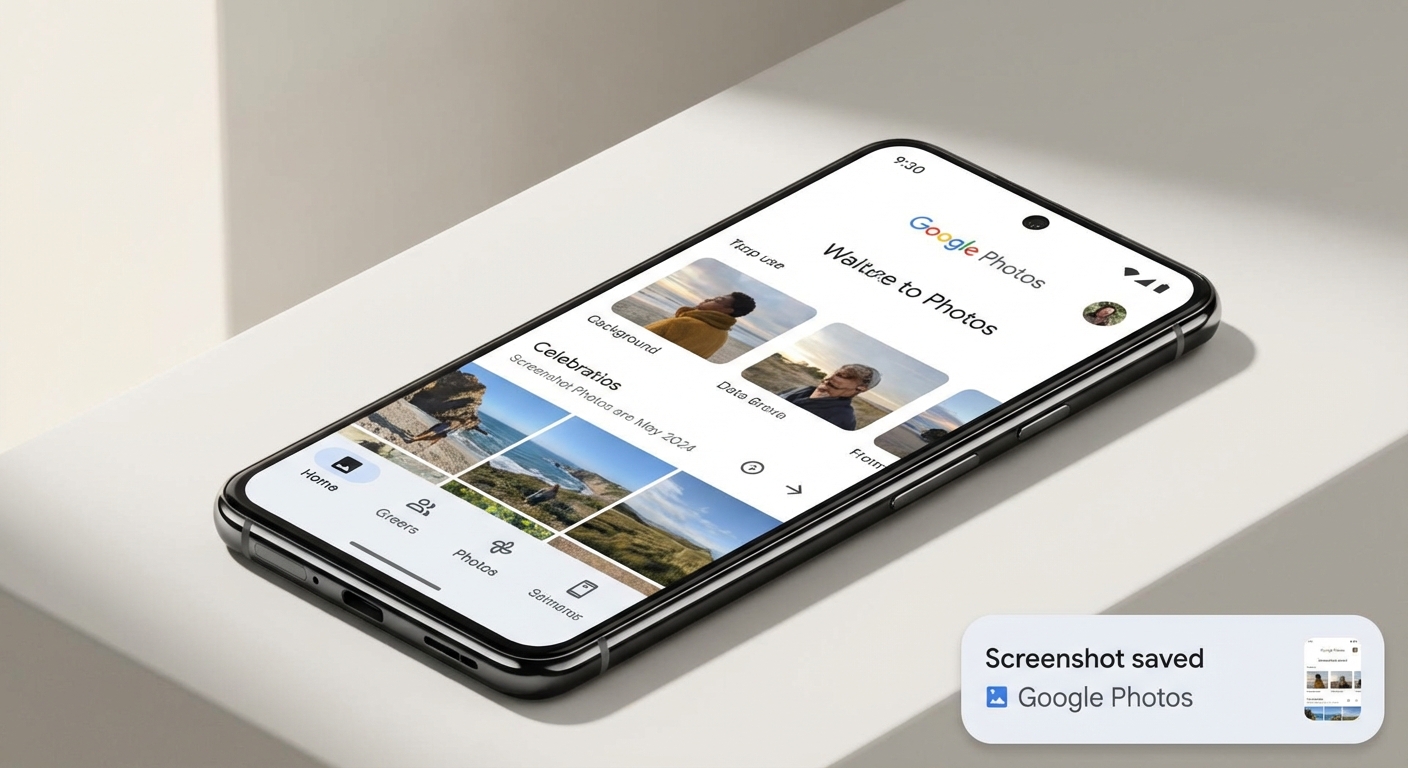
Standard method: Press the Power button and Volume Down button simultaneously. Hold for about a second until the screen flashes. The screenshot saves to your Photos or Gallery app.
Google Assistant method: Say “Hey Google, take a screenshot” if you have Google Assistant enabled. This is useful when holding button combinations is awkward.
Samsung devices: Samsung phones also support swiping the edge of your palm across the screen to capture. Enable this in Settings under “Advanced features” then “Motions and gestures.”
Scrolling screenshots: Many Android phones (including Samsung, Google Pixel, and OnePlus) support scrolling screenshots that capture content beyond what’s visible on screen. After taking a regular screenshot, look for a “Capture more” or “Scroll capture” button in the screenshot preview.
Chromebook Screenshots
Ctrl+Show Windows (the key that looks like a rectangle with two lines): Captures your entire screen. On external keyboards without this key, use Ctrl+F5.
Ctrl+Shift+Show Windows: Opens screenshot mode where you can select a specific area or window to capture.
Using the Screen Capture tool: Click the clock in the bottom-right corner to open Quick Settings, then click “Screen capture” for a toolbar with screenshot and screen recording options.
Chromebook screenshots save to your Downloads folder by default. A notification appears after each screenshot letting you copy, edit, or open the image.
Where Do Screenshots Go?
Finding your screenshots depends on your device:
| Device | Default Location |
|---|---|
| Windows | Pictures > Screenshots folder |
| Mac | Desktop |
| iPhone | Photos app > Screenshots album |
| Android | Photos/Gallery > Screenshots |
| Chromebook | Downloads folder |
On phones, screenshots also appear in your main camera roll or photo library, not just the Screenshots album. On computers, you can change the default save location in your screenshot tool’s settings.
Summary
Taking screenshots is straightforward once you know the right shortcut for your device. Windows users should remember Win+Shift+S for selective captures, Mac users benefit from Cmd+Shift+4 for precision, and phone users just need to press two buttons simultaneously.
For most quick captures, the basic shortcuts work fine. For more control over what you capture or where it saves, explore your device’s full screenshot tool (Snipping Tool on Windows, Cmd+Shift+5 on Mac, or Screen Capture on Chromebook).
If you need to share sensitive information in screenshots, remember to check for visible personal data, passwords, or email addresses before sending. For information on protecting your data generally, see our guide on how to protect your data.